
01. Spine_HardWeights (+tail, teeth 조금)
Root joint + 전체 mesh -> bind skin 강의 옵션이랑 같게 맞춰서 apply.

Root joint + 전체 mesh
-> bind skin 강의 옵션이랑 같게 맞춰서 apply.
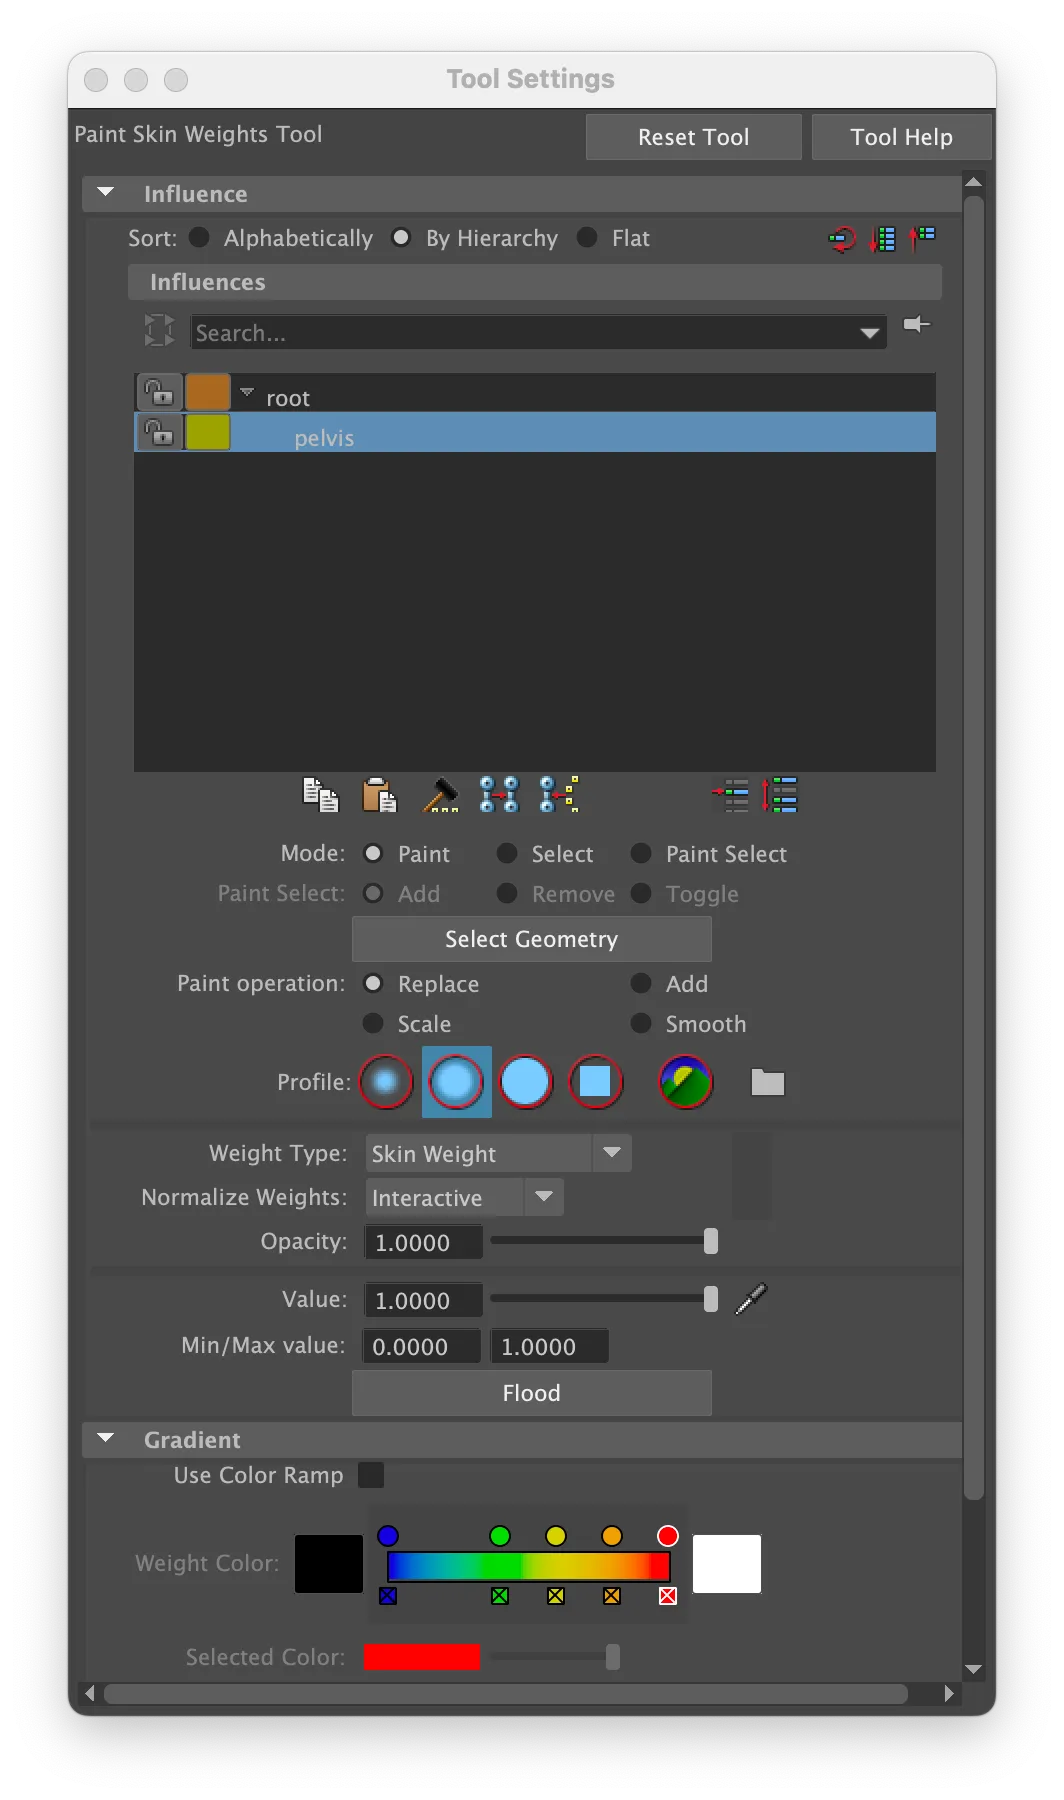
Pelvis add influence
paint weights tool 로 pelvis 에 스킨 값 넣어주기.

꼬리 부분은 뼈만 움직이는 것이 맞다.
( 아직 add influence 안해줌 )
Spine01


Spine01 joint + body mesh + add influence (lock weights)
Face mode 로 spine01 움직였을 때 같이 움직일 애들 다 선택해주기.
Ctrl + 우클릭 -> to vertices -> to vertices
Skin weight tool 잠금 다 풀어주고 spine 선택하고 flood 진행 완료.
Spine02, spine03

Spine02, spine03 동시 선택.
+ mesh 선택.
+ add influence
Face mode 로 spine02 에 해당하는 mesh 들 모두 선택
-> ctrl + 우클릭
-> to vertices Skin weight-> to vertices
paint skin weights 진행.
이 때, main 이랑 pelvis 는 잠그고 진행.
+ spine03 은 아직 관계 없으니 이것도 잠그고 진행.

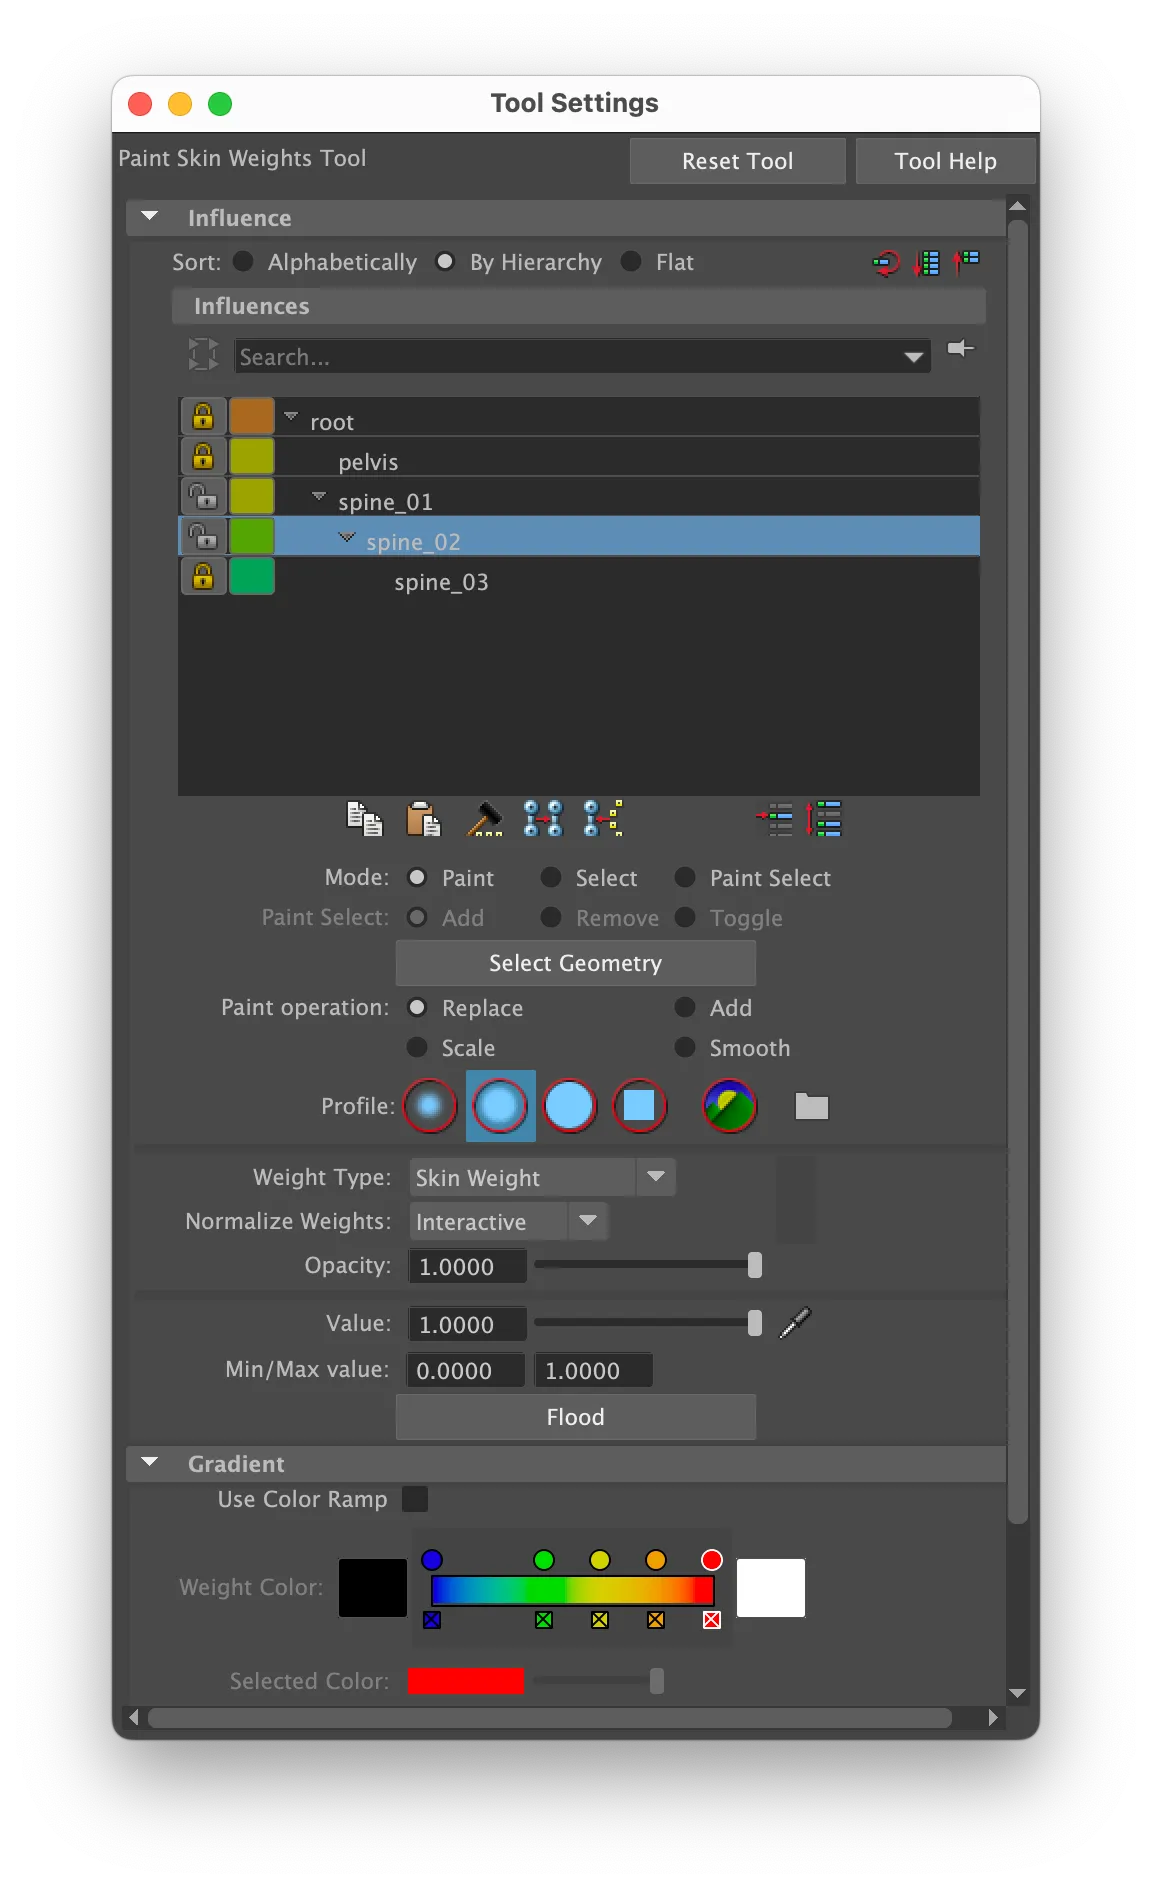
여기까지 하고 spine01 도 잠가주기.
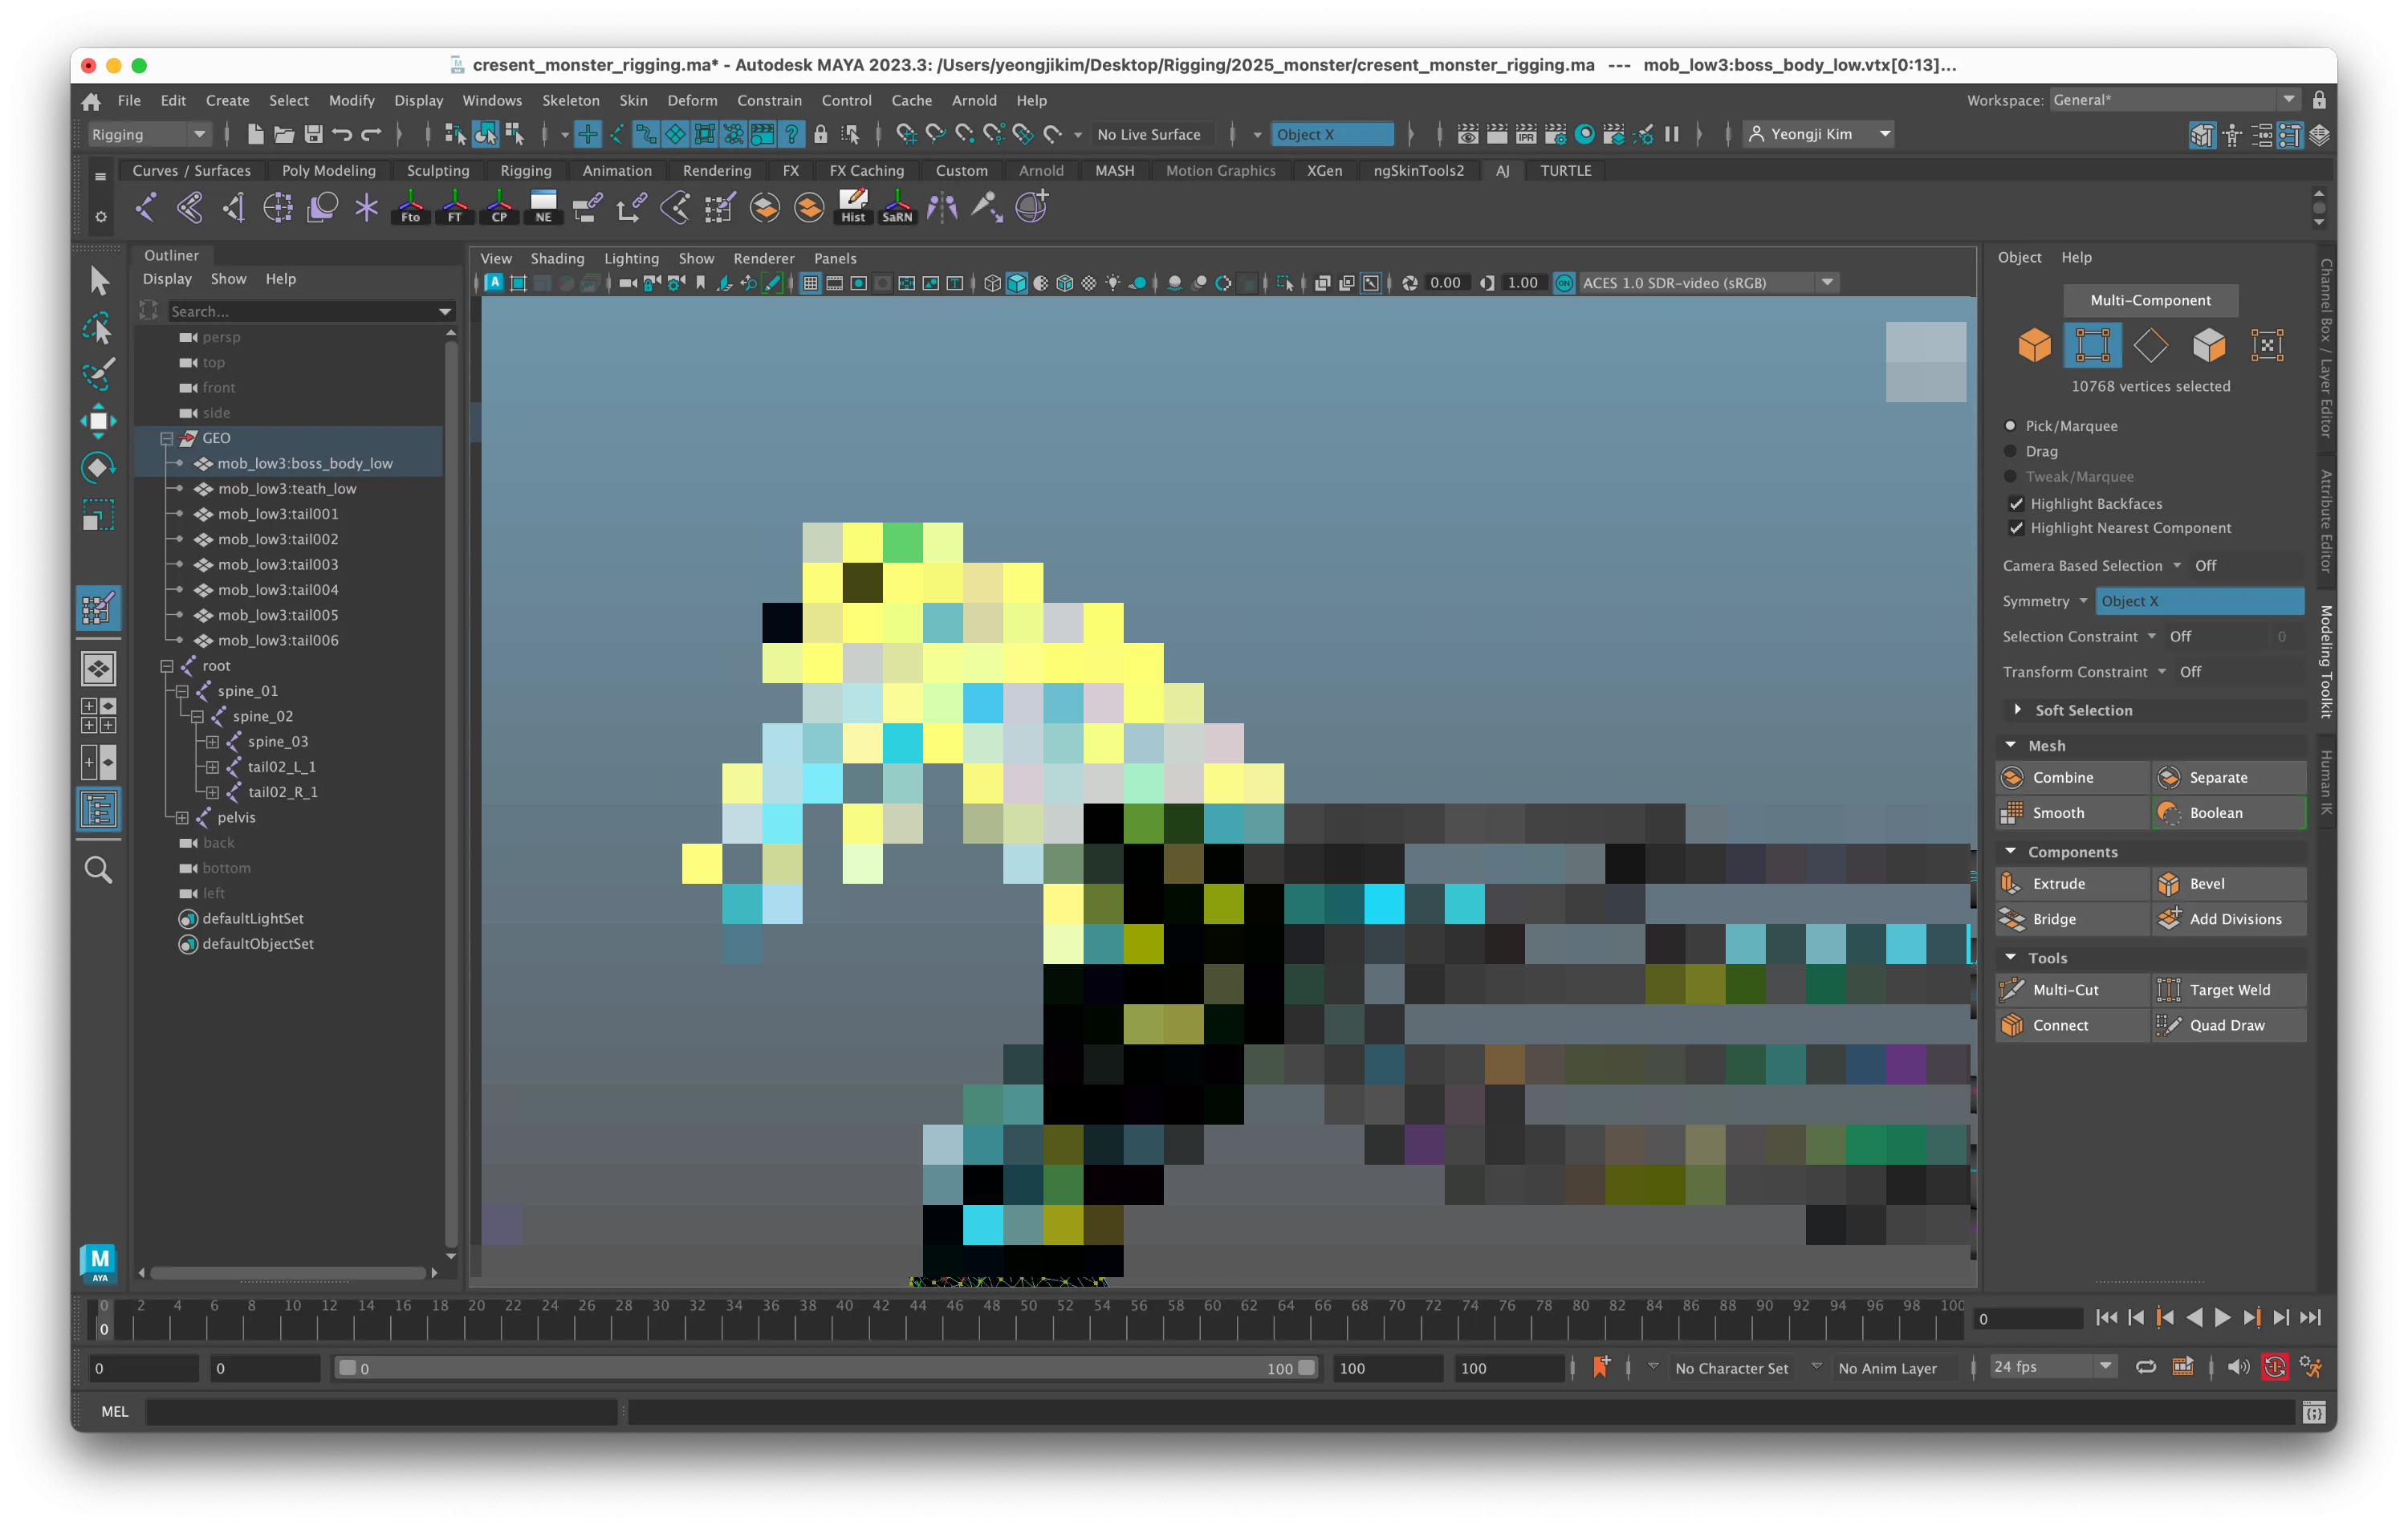
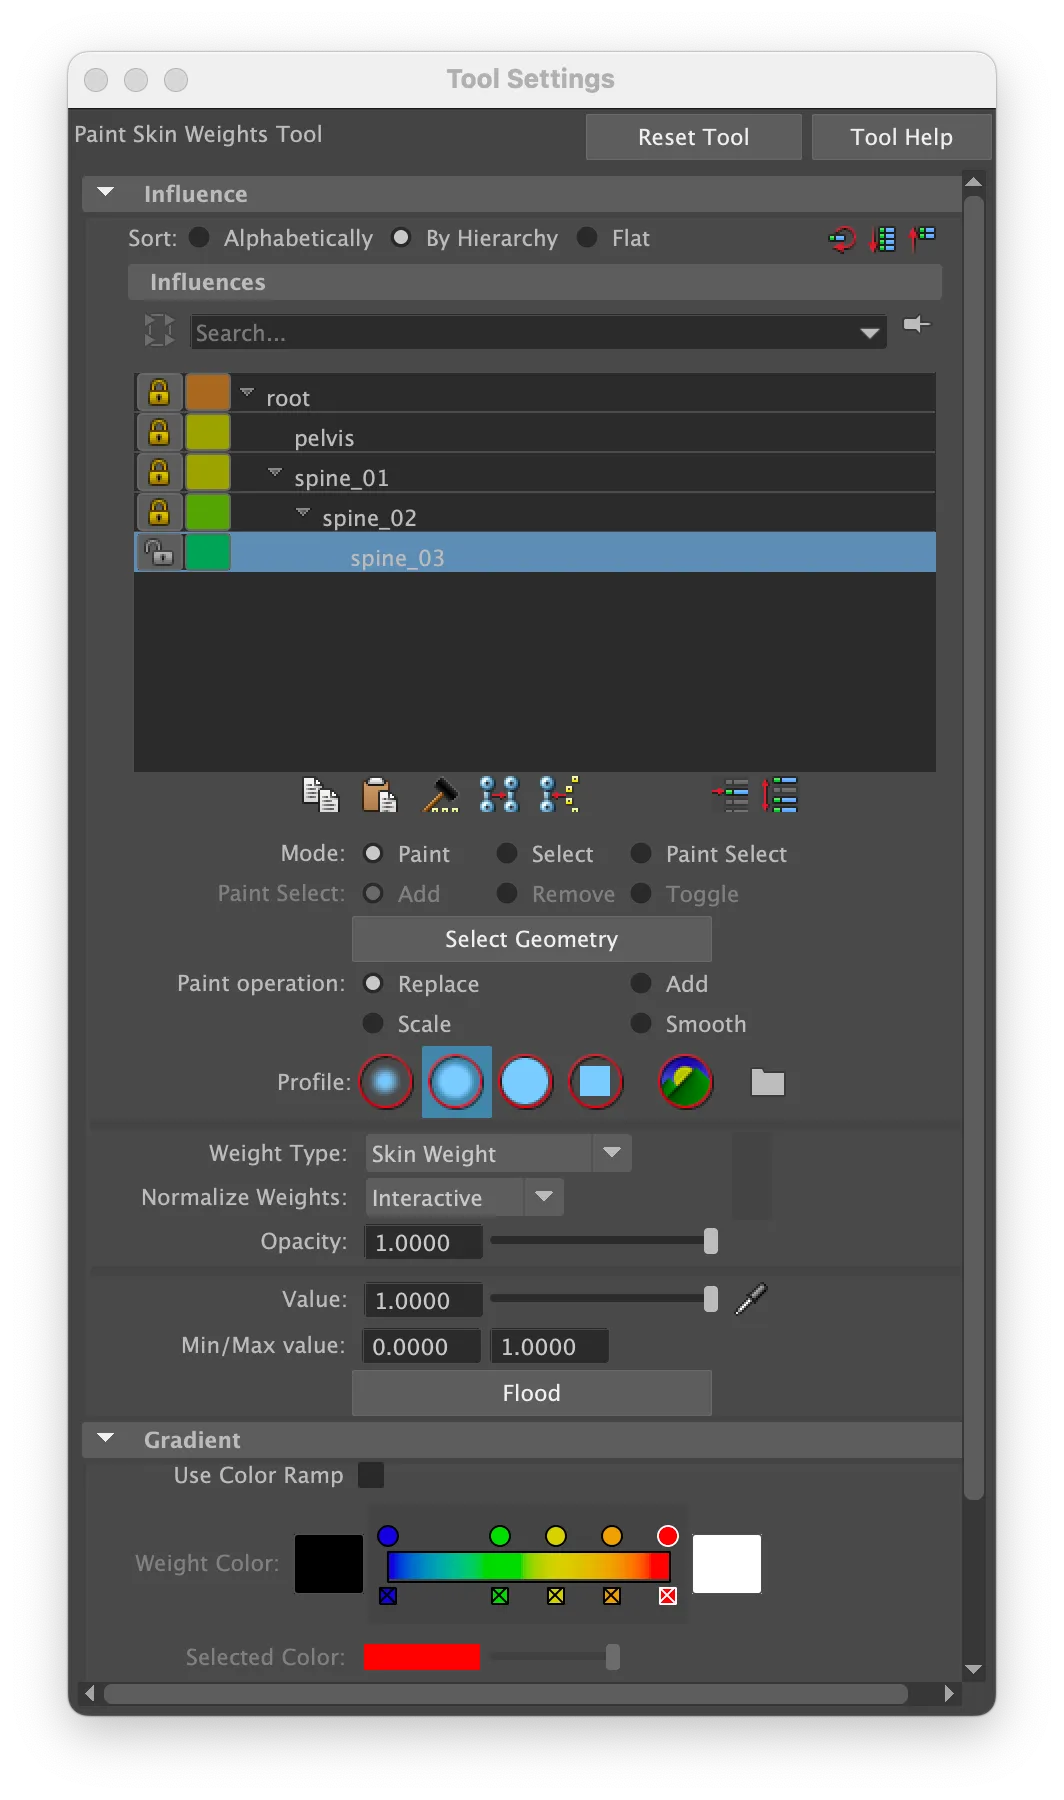
Spine03에 해당하는 mesh 면들 선택해주기 (face mode)
-> ctrl + 우클릭
-> to vertices -> to vertices
spine02, spine03 만 열어놓고 flood.
움직여보면 이빨이 따로 논다..

-> 디버깅을.. 합시다.
'Rigging' 카테고리의 다른 글
| Monster_Rigging ; Chapter 03. SkinWeights (2) (0) | 2025.10.11 |
|---|---|
| Monster_Rigging ; Chapter 02. Skeleton (3) (0) | 2025.09.13 |
| Monster_Rigging ; Chapter 02. Skeleton (2) (2) | 2025.08.30 |
| Monster_Rigging ; Chapter 02. Skeleton (2) | 2025.08.16 |
| Monster_Rigging ; Chapter 01. Outliner (2) | 2025.08.16 |